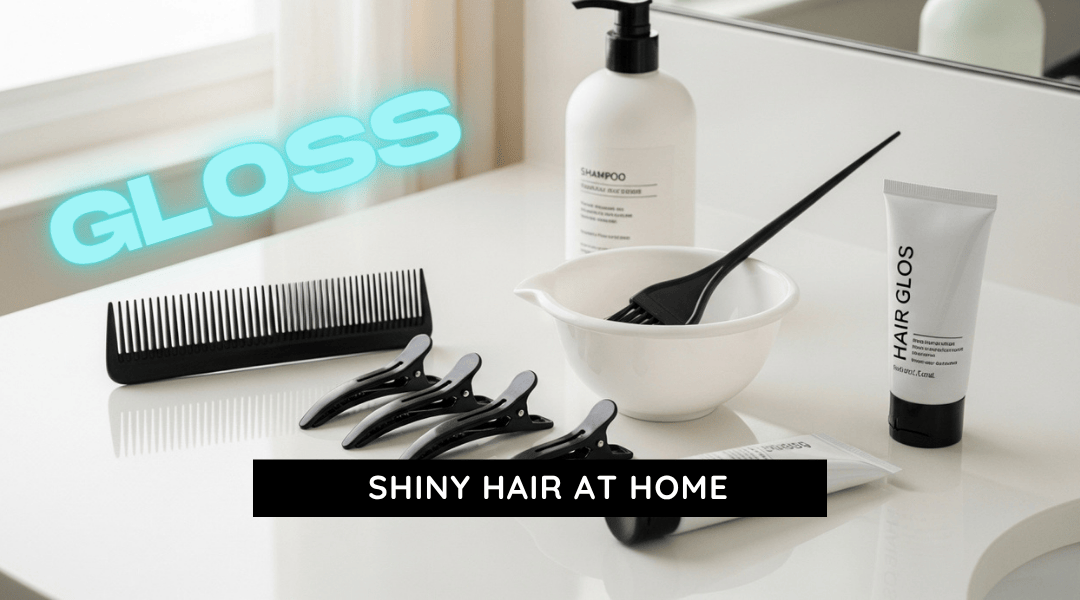
If you’re glossing at home for quick shine or a subtle tone refresh, you’re not alone. High-engagement community threads say a gloss can add softness and “a very very small amount of color,” with users naming at-home products they’ve leaned on for exactly that effect. Editorial and expert guides echo the appeal: clear or tinted gloss can enhance vibrancy and polish between color appointments.
But most DIY mishaps stem from two culprits: product buildup that blocks even results, and skipped strand testing on porous hair leading to patchiness or an over-toned mid-shaft. There are also cautionary community reports describing stiff, “rough” hair after a clear gloss when prep wasn’t right, which underscores how important the pre-wash is.
Below, you’ll find a precise, evidence-mapped playbook: what to do, what to avoid, and how to fix mistakes fast with citations after each claim so you can check the source.
Before You Start: Residue, Buildup, and the Clarifying-First Rule
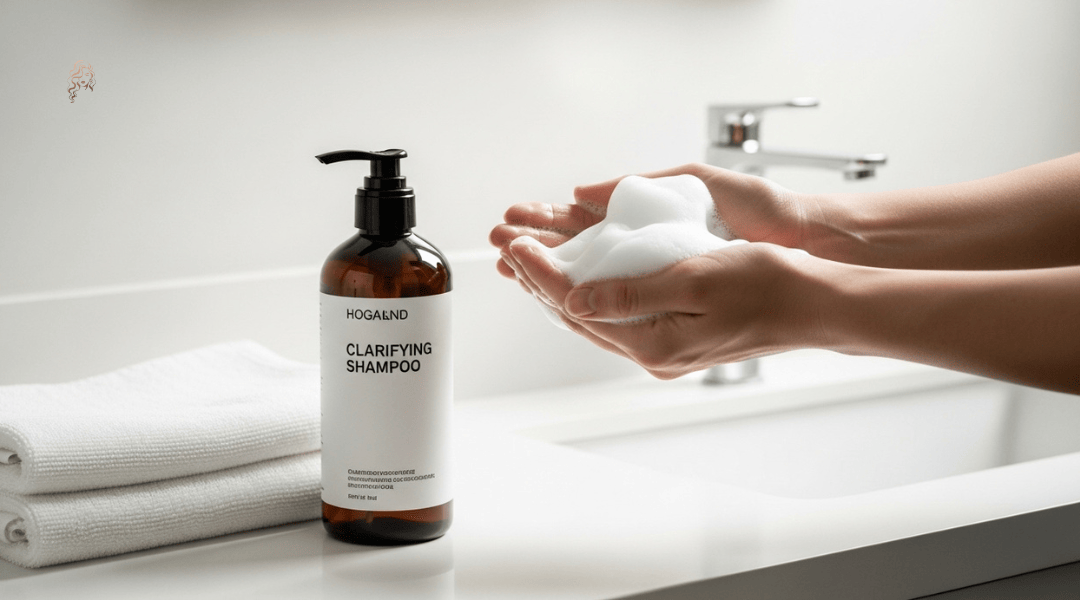
Leftover silicones, oils, dry shampoo, and similar residue create a film that stops gloss from depositing evenly. Expect patchy tone and muted shine if you skip a real cleanse. Starting on clean, towel-dried hair is the baseline across reputable guides.
Before You Start — Do vs Don’t
Do this
Pre-wash with a clarifying or thorough shampoo so hair is free of buildup, then
towel-dry to damp before application.
If your hair is delicate or high-porosity, keep the cleanse gentle—but still make sure
it’s truly clean and detangled before you start.
Don’t do this
Don’t apply over product film (silicones, dry shampoo, heavy oils)—it’s the top cause
of dull or uneven results.
Don’t rush prep. Gloss behaves best on clean, damp hair—not dirty or heavily styled hair.
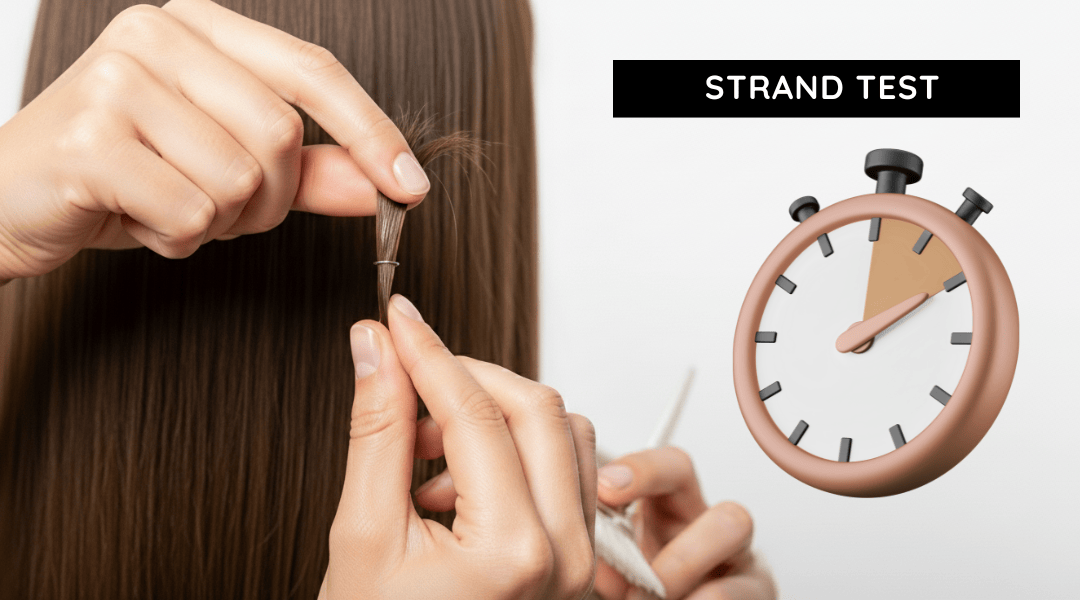
The Strand-Test Gate: Predict Tone, Porosity, and Timing (Non-Negotiable)
A strand test is the single best predictor of how your hair will take color and how quickly. Guides state it plainly: the strand test is “non-negotiable,” especially when trying a new shade or formula. Most brand instructions work within a 10 to 20 minute processing window. Your strand test tells you where to land within that range.
Strand Test — Do vs Don’t
Do this
Run a timing ladder on a hidden strand (check at 5, 10, 15, and 20 minutes) to find the exact point your hair hits the tone you want.
Log the basics: start time, end time, whether hair was damp, the tone shift you saw, and how the hair felt after.
Don’t do this
Don’t skip strand testing on porous mids — that’s where over-toning or patchiness shows up first.
Don’t ignore early hot spots or irritation. If a test area goes too dark too fast or feels wrong, stop and reassess.
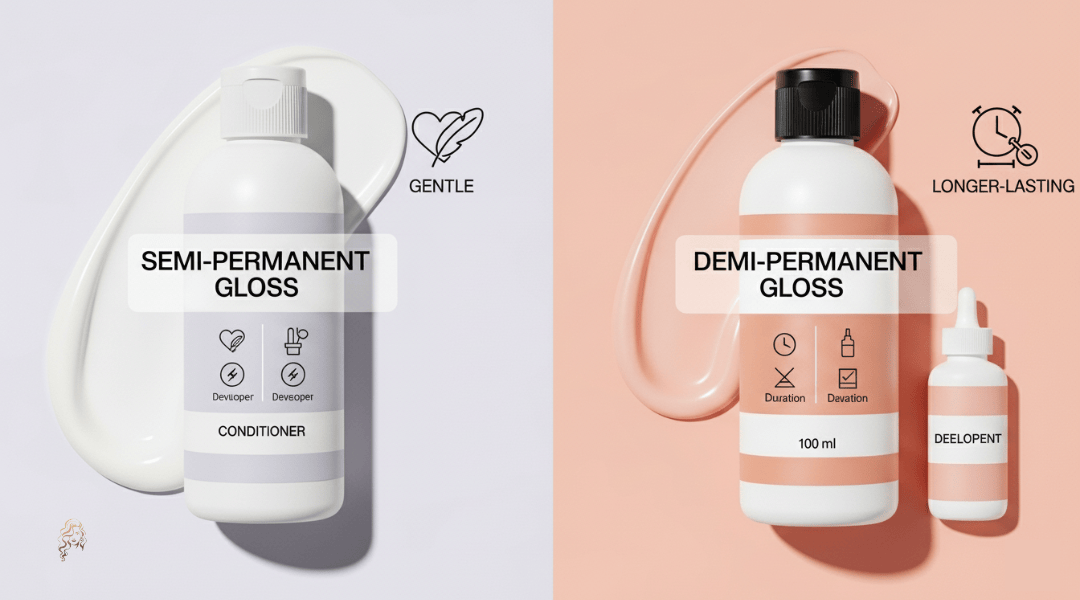
Semi vs. Demi: Developer, pH, and Risk Profile (Choose the Right Type)
Community science threads and expert explainers align on the big differences. Semi-permanent gloss behaves like a tinted conditioner that fades after a few shampoos. Demi-permanent uses a developer to open the cuticle slightly and deposit inside, which means more staying power but more risk for stressed hair. Lower pH products are considered more cuticle-friendly. Check labels for pH guidance where given.
Semi vs. Demi – Do and Don’t
Do this
If your hair is fragile, bleached, or highly porous, start with semi-permanent (deposit-only) and validate with a strand test.
Read the box. Developer present indicates demi. No developer indicates semi. Editors call out this label distinction clearly.
Don’t do this
Don’t assume “gloss” is automatically risk-free. Demi formulas can be drying relative to semi because of the developer and cuticle lift.
Don’t skip pH context. Lower-pH options are preferred for maintaining cuticle smoothness.
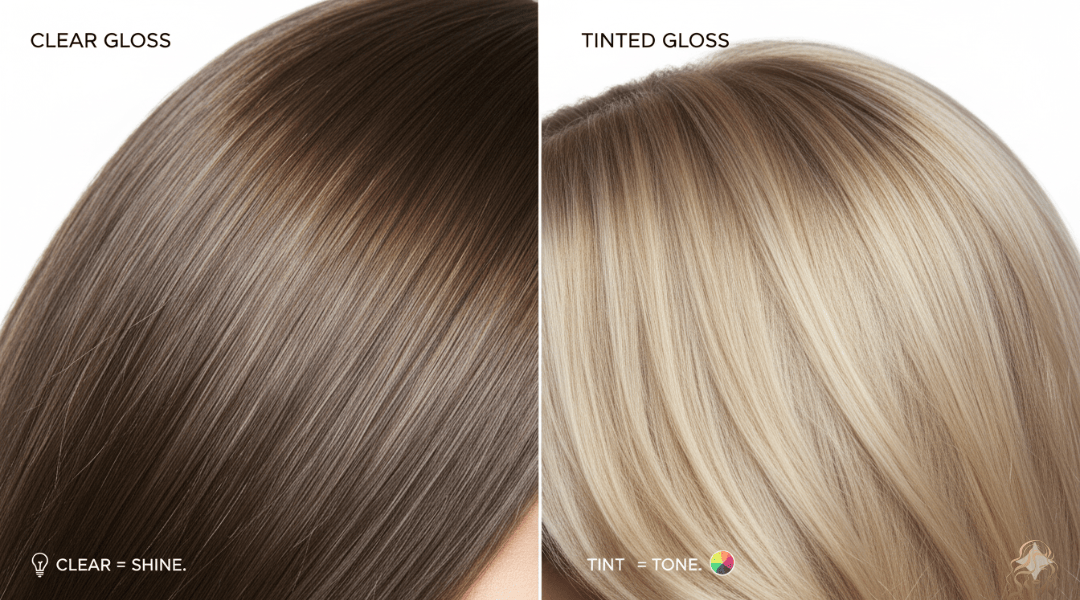
Clear vs. Tinted: Shine for Virgin Hair, Brass Control for Color-Treated
“Clear for shine, tint for tone” is a simple rule supported by the dataset. Manufacturer and editorial guides confirm clear gloss as a shine booster on virgin hair, while tinted formulas help neutralize warmth on brassy blondes or brunettes. Expectation setting matters for grays. A gloss can camouflage or blend some gray. It is not full coverage.
Clear vs. Tinted — Do vs Don’t
Do this
Use clear on virgin hair when you want shine and softness without changing your natural color.
Choose a tinted gloss with the right undertone when brass is your main complaint.
Don’t do this
Don’t expect a gloss to fully cover gray. It blends at best.
Don’t rely on clear to correct brass. You’ll need the appropriate tint to neutralize warmth.
The Exact At-Home Workflow (Sections, Saturation, Timing, Rinse Order)
A clean, damp canvas. Even sectioning. Brand-specific timing. A smart rinse and leave-in finish. That’s the flow supported by multiple sources.
Step-by-step
1
Prep
Shampoo thoroughly so hair is free of residue. Towel-dry to damp.
2
Section
Divide into workable sections and distribute product evenly, section by section.
3
Time
Follow your brand’s window. Many instructions live in the 10 to 20 minute range. One brand example calls out 20 minutes specifically. Treat that as brand-specific, not universal.
4
Rinse and finish
Rinse thoroughly. Expert editors note that a rinse-out conditioner is typically unnecessary immediately after a gloss. A light leave-in can enhance softness and detangling.
The guardrails that keep gloss even and tone true.
Application & Timing — Do vs Don’t
Do this
Set a timer and check visually near your proven strand-test time.
Keep application consistent. Saturation matters. Work methodically through sections.
Don’t do this
Don’t assume all brands use the same timing. Use your strand-test result and the box directions.
Don’t layer heavy rinse-out conditioner right away if your instructions or expert guidance suggest a leave-in is enough.
High-Frequency Failures and Fast Fixes
Use this quick triage to fix mistakes fast and prevent repeats.
Issue
Quick fix
Next time
Overbuild → flat or patchy result
Quick fix
Quick fix:
Wash with a clarifying shampoo to reset. Re-gloss only on truly clean hair. Guides flag “slapping gloss onto hair full of styling gunk” as the biggest DIY blunder.
Next time
Next time:
Always start clean and damp. Detangle before opening the tube.
Over-toned or patchy mids on porous hair
Quick fix
Quick fix:
Clarify one or two times to lift excess tone, then hydrate. Editors note clarifying is a common way to fade a result you don’t like.
Next time
Next time:
Don’t skip the strand-test ladder. Shorten dwell where your hair grabs quickly.
“Clear” gloss left hair stiff or rough
Quick fix
Quick fix:
Re-wash to remove residue and follow with a lightweight leave-in. Community reports link the issue to applying over buildup.
Next time
Next time:
Deep cleanse first. Avoid heavy products before you gloss.
Picked the wrong type (demi vs semi)
Quick fix
Quick fix:
Pause if hair feels compromised. Next attempt, switch to semi-permanent and retest timing.
Next time
Next time:
Read the label. Developer present means demi. Choose based on your hair condition.
Timing overshoot
Quick fix
Quick fix:
Rinse immediately. Use a leave-in for slip. Clarify later if you need to fade tone.
Next time
Next time:
Set a timer and follow the strand-test outcome, not a guess.
Irritation flags
Quick fix
Quick fix:
Stop and rinse thoroughly. Do not continue processing. A state advisory focused on keratin-based smoothing documented eye and throat irritation and hair-loss complaints. Although that report concerns smoothing and not gloss, it reinforces why patch tests, ventilation, and ingredient awareness matter.
Safety and Sensitivity: Patch Tests, Ingredient Watchlist, Advisory Context
Check packaging for pH guidance. Lower pH is favored for preserving cuticle smoothness.
Many at-home formulas are marketed as ammonia-free, but editors and colorists note differences by brand.
Read labels and patch-test if you’re sensitive.
For additional caution, advisories reviewing keratin-based smoothing documented irritation and hair-loss complaints. While those reports are about smoothing and not gloss, they underscore why patch tests and ingredient diligence matter for any chemical service.
Longevity and Maintenance: How Long It Lasts and How to Make It Last
Plan for weeks, not months. Salon results typically last about 4 to 6 weeks, while at-home results are often 2 to 4 weeks. This sets realistic expectations. Editorial guidance also notes that professional glosses are often more intense and longer-lasting than DIY formulas.
For upkeep cadence, some expert roundups say many glosses can be used weekly or whenever fading becomes noticeable. Treat that as brand or editorial guidance and always confirm your product’s instructions.
DIY vs. Salon Gloss: When a Pro Is the Better Call
Choose the salon route when you need stronger, longer-lasting results or targeted color correction such as persistent brass, banding, or very uneven porosity. Editorial guidance notes that professional glosses are often more intense and longer-lasting than at-home versions. If past DIY attempts made things worse, booking a gloss with a pro is the safest fix-once approach.
Money-Wasting Myths Debunked
Myth
“Gloss repairs split ends.”
Truth
It can seal the cuticle for a smoother look, but it does not repair splits.
Myth
“Gloss equals glaze.”
Truth
Glazes are typically ammonia-free and sit on the surface. Glosses may use small amounts of developer and generally last longer.
Myth
“Gloss fully covers gray.”
Truth
It can camouflage or blend some gray. It is not full coverage for resistant strands.
Myth
“Gloss lasts months.”
Truth
Plan on 4 to 6 weeks in salon and 2 to 4 weeks at home, not months.
Myth
“Gloss is always damaging.”
Truth
Damage risk depends on chemistry and hair condition. Demi uses developer and raises risk. Semi is deposit-only and gentler.
A Thoughtful Final Note
If you’re wrestling with brassy banding, very porous mids, or sensitivity concerns, an expert-applied gloss can be the faster and safer route. Bring your strand-test notes and timing results so your stylist can see exactly how your hair responded at home.