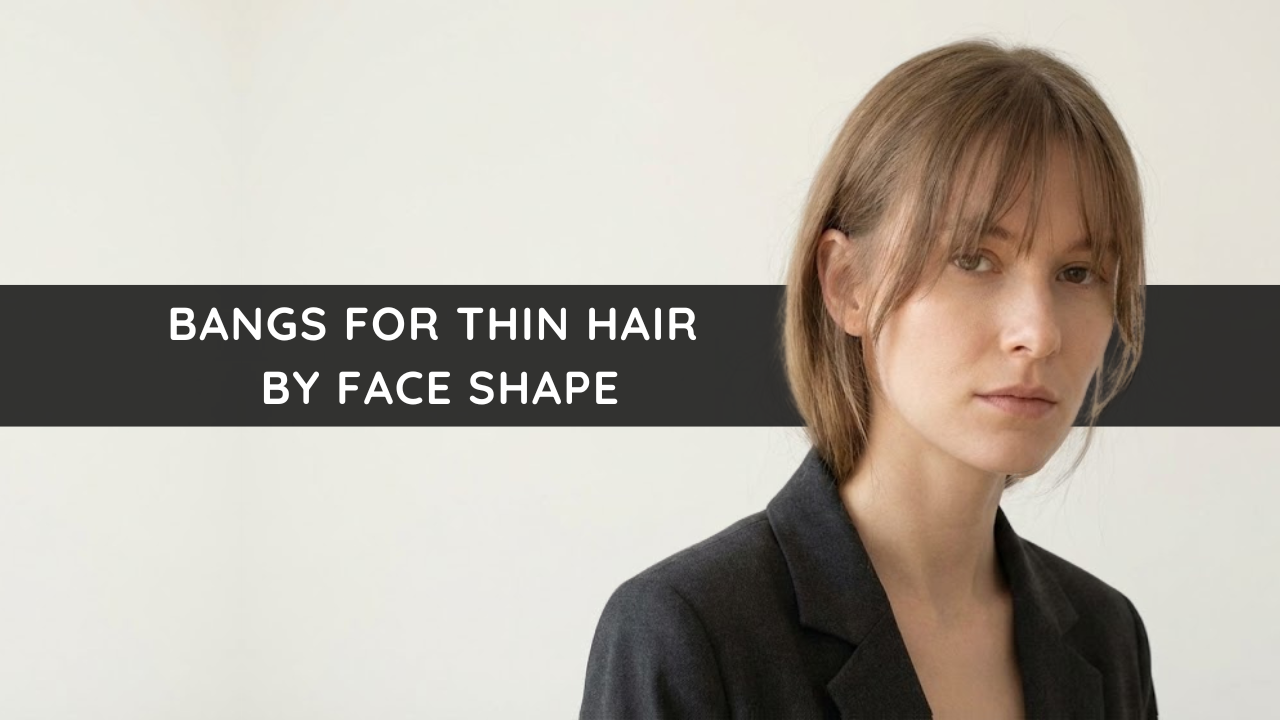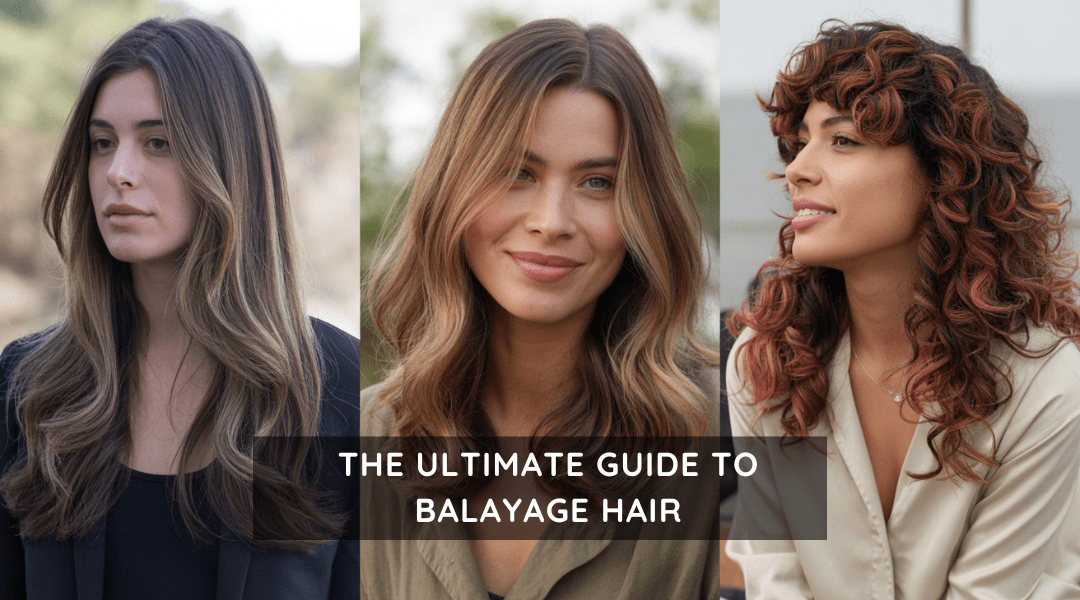
Obsessed with Jennifer Lopez’s and Jessica Alba’s balayage and thinking, “Can I get that look too?” The answer is a big Yass. Balayage creates a natural, sun-kissed glow that’s taken over salons, social media, and red carpets. This hand-painted hair coloring technique blends soft, seamless highlights for a low-maintenance, vibrant look. This guide explains what balayage is, how it works, and how to care for it, helping beginners understand the process and make informed choices. Its popularity on platforms like Instagram and TikTok, plus celebrity endorsements, makes it a top hair trend for 2025.
Balayage, from the French word meaning “to sweep,” is a freehand hair coloring technique that delivers natural-looking highlights. Unlike traditional highlights, which use foils for uniform streaks, balayage involves painting color directly onto the hair’s surface. This creates soft, blended transitions with no harsh lines. Often called “sun-kissed,” balayage mimics the natural lightening of hair from sun exposure, giving a lived-in, effortless vibe.
The technique stands out because it avoids the structured, striped look of foil highlights. Balayage focuses on strategic placement, with lighter tips and darker roots for a gradient effect. It’s versatile, suiting all hair colors, lengths, and textures, from straight blonde locks to curly dark tresses. This flexibility and natural finish make balayage a favorite for those seeking a low-maintenance, dimensional look.
The balayage process is an art form, blending creativity with technical skill. Here’s a clear breakdown of how stylists achieve that signature look:
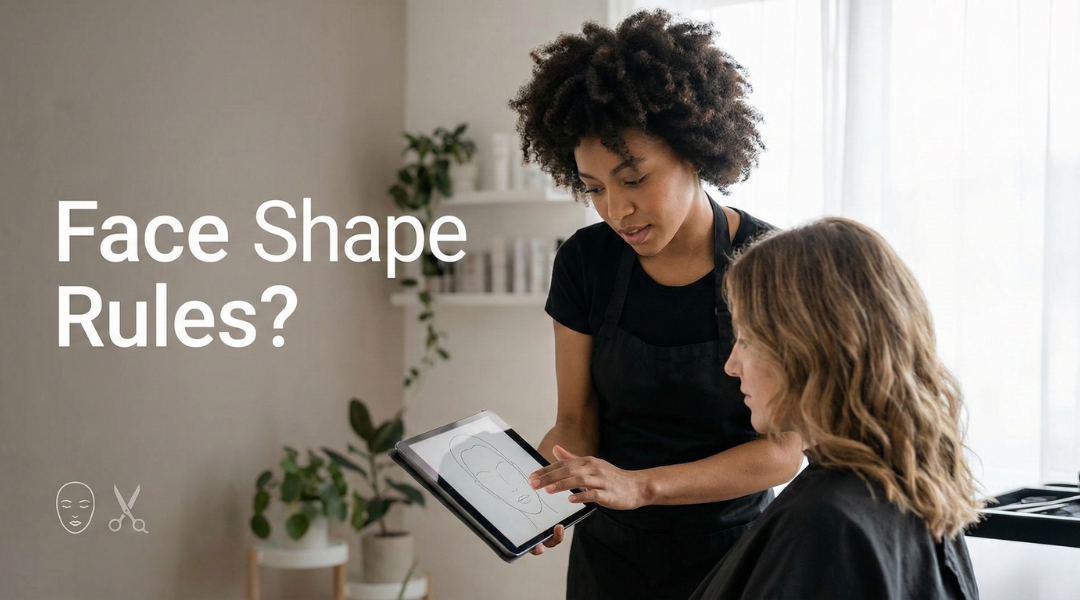
Variations like “foilayage” (using foils for extra lift) or root smudge (blending the root area for a softer transition) add depth or intensity. Stylists adapt placement based on your features: face-framing highlights flatter oval faces, while scattered highlights suit longer or textured hair.
Curly hair may need wider sections to showcase the color, while fine hair benefits from delicate strokes. You must understand the hair type and condition before starting, as this affects how the color will interact with your hair. For example, curly or coarse hair may need a stronger lightener or longer processing time to achieve the desired lift. Always consult with a professional to determine the best approach for your hair type.
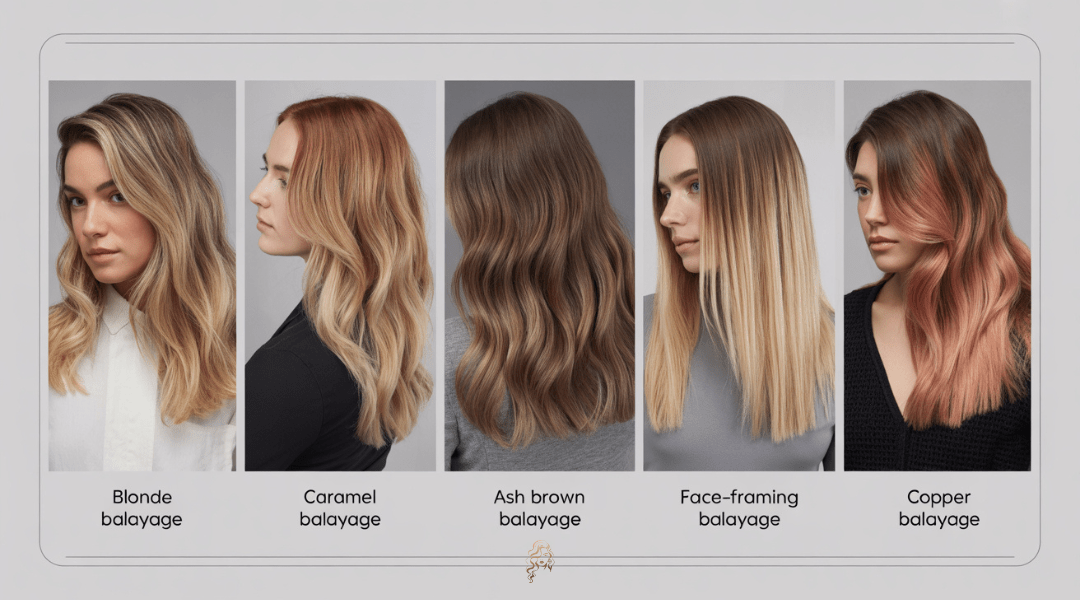
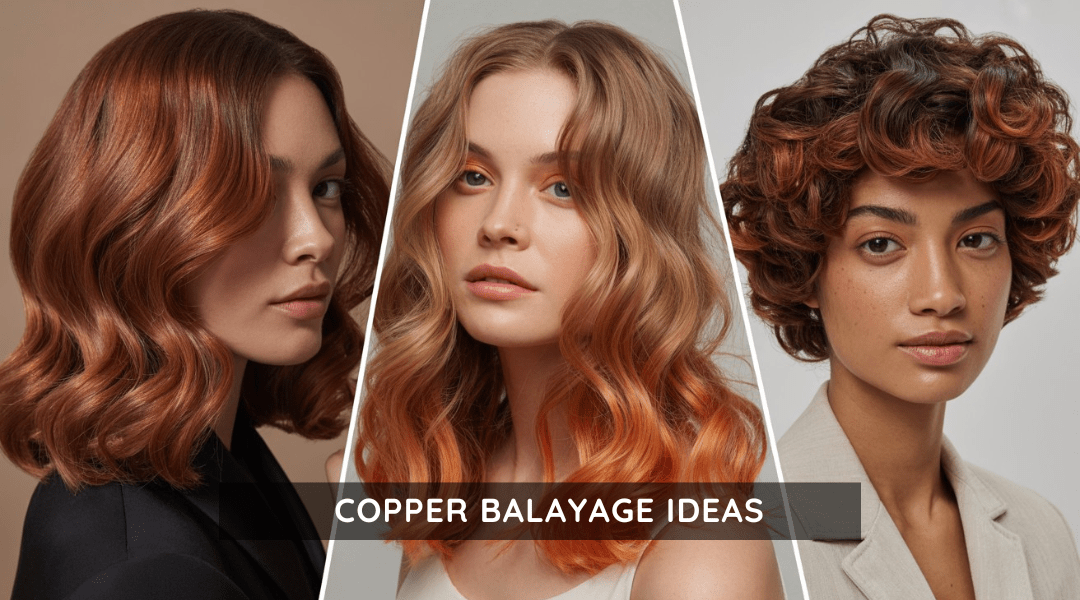
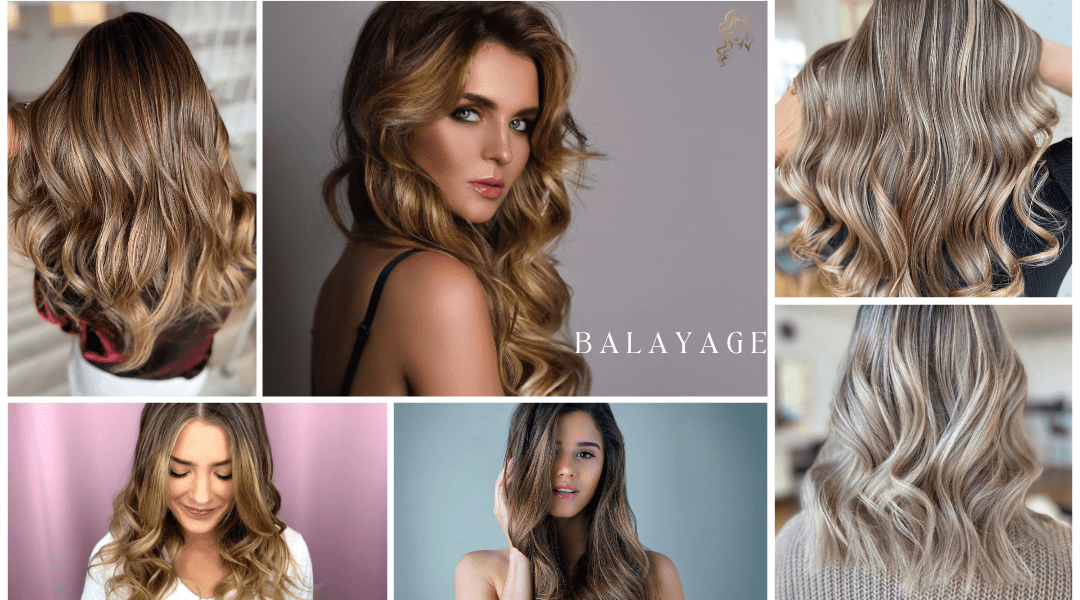
Balayage offers endless possibilities, with styles tailored to different hair colors and preferences. Here are the most popular variations:
Each style can be customized. For example, short hair may lean toward face-framing highlights, while long, wavy hair can handle full-head balayage for a dramatic effect.
| Feature | DIY Balayage | Professional Balayage | Quick Verdict |
|---|---|---|---|
| Skill Required | High – not beginner-friendly | Low – handled by a trained stylist | ✅ Go Pro for precision |
| Tools & Setup | Must buy separate tools and set up space | All tools provided by salon | ???? Salon simplifies everything |
| Customization | Limited; hard to match skin tone & hair texture | Tailored to face shape, hair type, lifestyle | ✅ Stylists deliver personalized results |
| Risk of Mistakes | High – uneven color, overprocessing, brassiness | Low – stylists know proper timing and technique | ???? DIY risks hair damage |
| Cost | Low upfront (under $50 with a kit) | Higher ($150–$350+) depending on location | ???? DIY is cheaper but riskier |
| Longevity & Finish | May require correction after a few weeks | Professional finish lasts longer and fades gracefully | ⭐ Salon wins for lasting shine |
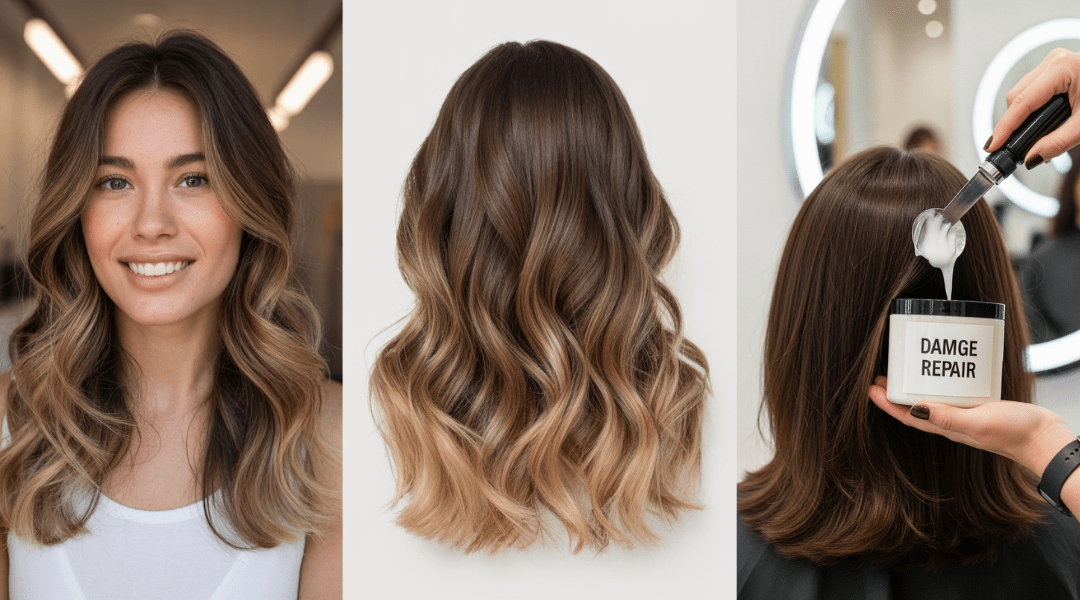
Balayage is low-maintenance compared to traditional highlights, but proper care keeps it vibrant. Use color-safe shampoos and conditioners to preserve tone and prevent fading. Deep conditioning masks restore moisture, as lightening can dry out hair. Limit heat styling and use a heat protectant spray. Touch up every 8-12 weeks to refresh the color without overlapping previously lightened sections. Read more about maintenance tips and the best shampoos for balayage in this guide.
Balayage’s rise to fame comes from its versatility and effortless appeal. Here’s why it’s the top hair trend for 2025:
Balayage highlights can last longer than traditional highlights because they avoid harsh regrowth lines, making them perfect for busy lifestyles.
The trend’s popularity stems from its ability to look fresh and modern while requiring less upkeep than traditional highlights, perfect for busy lifestyles.
Balayage comes with misconceptions that can lead to costly errors. Here are common myths and pitfalls to avoid:
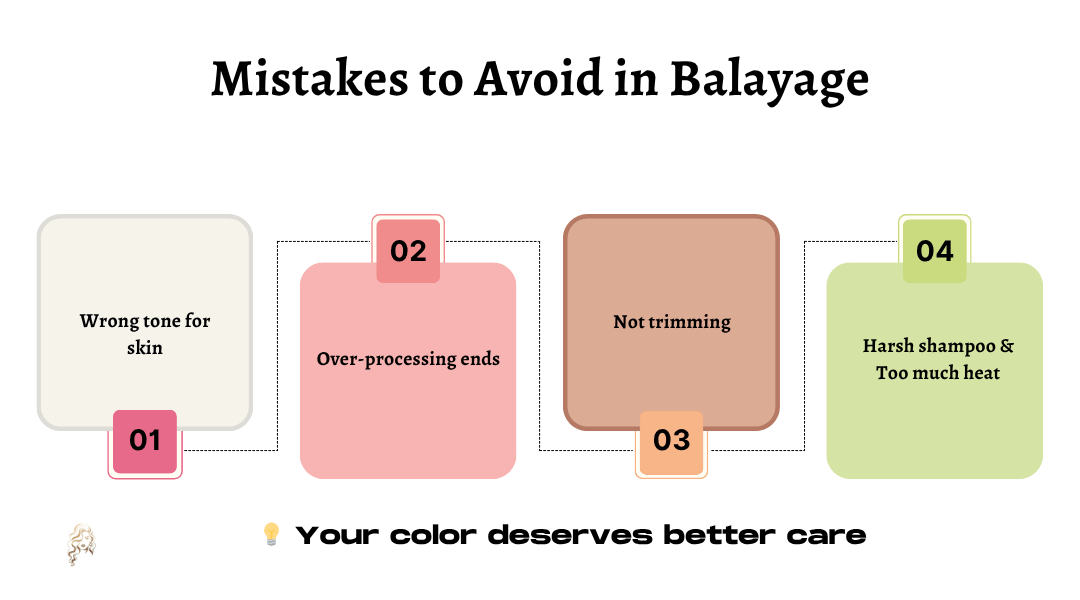
Achieving perfect balayage requires care to avoid common errors that can ruin your look.
A professional consultation is vital, as stylists evaluate your hair’s condition and tailor the process for a flawless finish. Always prioritize proper tools, timing, and aftercare to protect your hair and maintain vibrant, polished balayage.
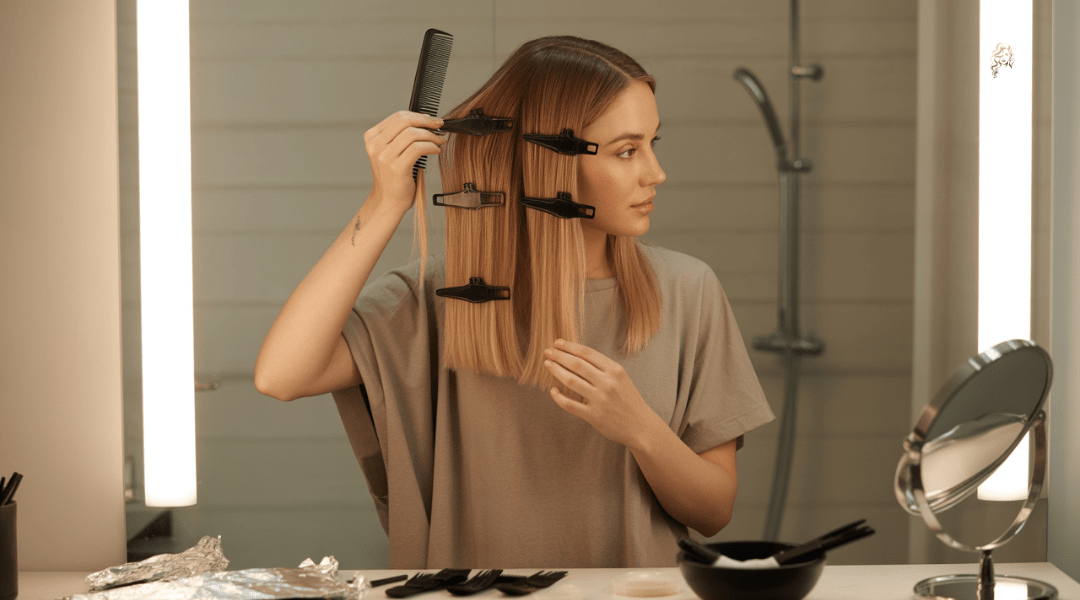
Yes, it’s possible, but it’s not as simple as it looks on TikTok. DIY balayage kits promise salon-style results, but they often fall short. Balayage done by a professional offers precision, controlled lightening, and a customized blend that’s hard to recreate without training. Still, if you’re willing to try it at home, here’s what you need to know.
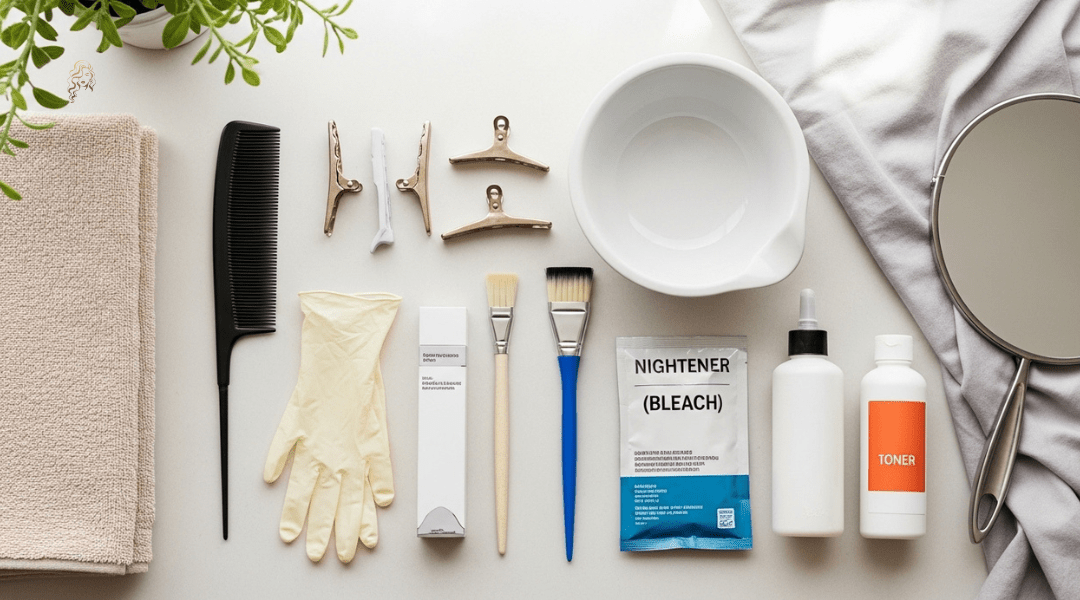
You’ll need a rat-tail comb for sectioning, sectioning clips to keep hair in place, a non-metallic mixing bowl, gloves, a balayage brush, lightener (bleach), developer, and toner. These tools help you apply the color safely and more evenly, giving you a better shot at a natural-looking result.
Choose a well-lit area, preferably with natural light, and use two mirrors so you can see the back of your head. Cover your surfaces with towels or old sheets. This setup prevents mess and helps you work more accurately without feeling rushed or disorganized.
Start by dividing your hair into four main sections using clips. This helps you work in smaller areas and apply the lightener more evenly. Smaller sections mean better control, especially for beginners attempting balayage for the first time.
Using the brush, paint the lightener onto thin pieces of hair, focusing more toward the mid-lengths and ends. Use a sweeping, feathered motion to create that soft, natural blend that balayage is known for. Avoid applying lightener directly to the roots.
Leave the lightener on only as long as instructed on your kit. Don’t guess. Over-processing can lead to dryness, breakage, or unwanted brassy tones. Check a strand every 10 minutes to see how the color is lifting. Rinse when you reach your desired level.
After rinsing and drying your hair, apply toner to neutralize any brassiness and enhance the overall tone. Toners are essential in getting that cool or warm finish you’re going for. Follow the instructions and let it process for the suggested time.
If you have very dark, damaged, or previously colored hair, you’re better off going to a salon. Dark hair usually needs a strong lightener and proper toning, while damaged hair is more likely to break under bleach. Also, if you’ve never colored your hair before, DIY balayage can quickly turn into patchy, uneven color. Beginners should start small, maybe just framing the face, and always do a strand test first.